
How to Grow your Pocket Forest
On this page, we’ll take you step by step through how to create your very own pocket forest. From finding the right site and gathering a team, to preparing the soil, planting your trees, and caring for them as they grow, this guide is designed to make the process simple and enjoyable. Whether you’re working with your community, a school, or just a group of friends, these instructions will help you bring more biodiversity and beauty into your local area.
Equipment
-

Garden Fork
-

Cardboard
-

Woodchip
.
-

Saplings
.
-

Watering Can
Choose the Right Site
Every forest begins with the right location. Walk around your local community and search for a space that feels safe, open, and welcoming. It could be a corner of a school playground, a patch in a park, or even a vacant site. Pay attention to practical things too: are there overhead power lines that could interfere with growing trees? Are there underground pipes or cables that could be disturbed? Taking the time to choose wisely at the start will save you headaches later, and ensure your forest can flourish .


Build your dream team
Forests are about community! Gather a group of enthusiastic volunteers who’d love to help out. If you’re working with schools or bigger groups, check if you’ll need public liability insurance or Garda clearance.
Get to know your soil
Healthy soil = healthy forest. Dig in and see what you’ve got. Is the soil deep and full of wriggling life like earthworms and beetles, or is it heavy with clay and rubble? This will guide how you prepare for planting.


Design Your Forest
Think of this stage as drawing the blueprint for your woodland. Measure your planting area and start sketching ideas for how the forest will look and feel. Do you want winding paths for people to wander through? A central space for seating, storytelling, or outdoor learning? Simple tools like pegs and string can help you mark out shapes on the ground. At Pocket Forests, we love circular designs, leaving the centre open as a gathering place surrounded by trees. The design is your chance to shape not just a forest, but a space where people and nature meet.
Prepare the Ground
(Sept–Nov)
Before planting, give your soil some care to help your trees get the best start. Use garden forks to loosen the ground so that air and water can move through it more easily, then water the area with compost tea, a natural liquid fertilizer made by steeping compost in water inside a mesh or cloth “tea bag.” This simple brew is packed with beneficial microbes that improve soil health, boost nutrients, and protect young plants from disease. Once the soil is fed, cover it with overlapping sheets of cardboard (remember to peel off any plastic tape) to block weeds and grass, and finish with a thick layer of woodchip mulch to hold in moisture and gradually feed the earth as it breaks down.


Plant Your Trees
(Dec–Mar)
It’s planting time! During the bare-root season, aim for 3 trees or shrubs per square metre. We recommend you only plant native trees and shrubs grown from seed in Irish nurseries (see suppliers below).
When planting use your spade to cut a T-shape into the soil, gently open it up, and tuck your tree’s roots in snugly. Press the soil back in with your foot while keeping the tree straight, then add mulch around its base for protection. Make sure all the roots are securely under ground where they belong. Longer rooted trees will need deeper planting holes.
Care, watch, and enjoy
Once planted, your forest will begin its journey. Check in regularly, nurture your trees, and watch the magic happen. For extra tips, explore our maintenance videos to keep your pocket forest thriving for years to come.

Suggested Nurseries

Wild Oaks
Location: Laccaroe, Feakle, Co. Clare, Ireland.
wildoaks.ie
Hometree
Location: Ennistymon, Co. Clare, Ireland.
hometree.ie
Recommended Trees and Shrubs
-

Elder
-

Guelder Rose
-

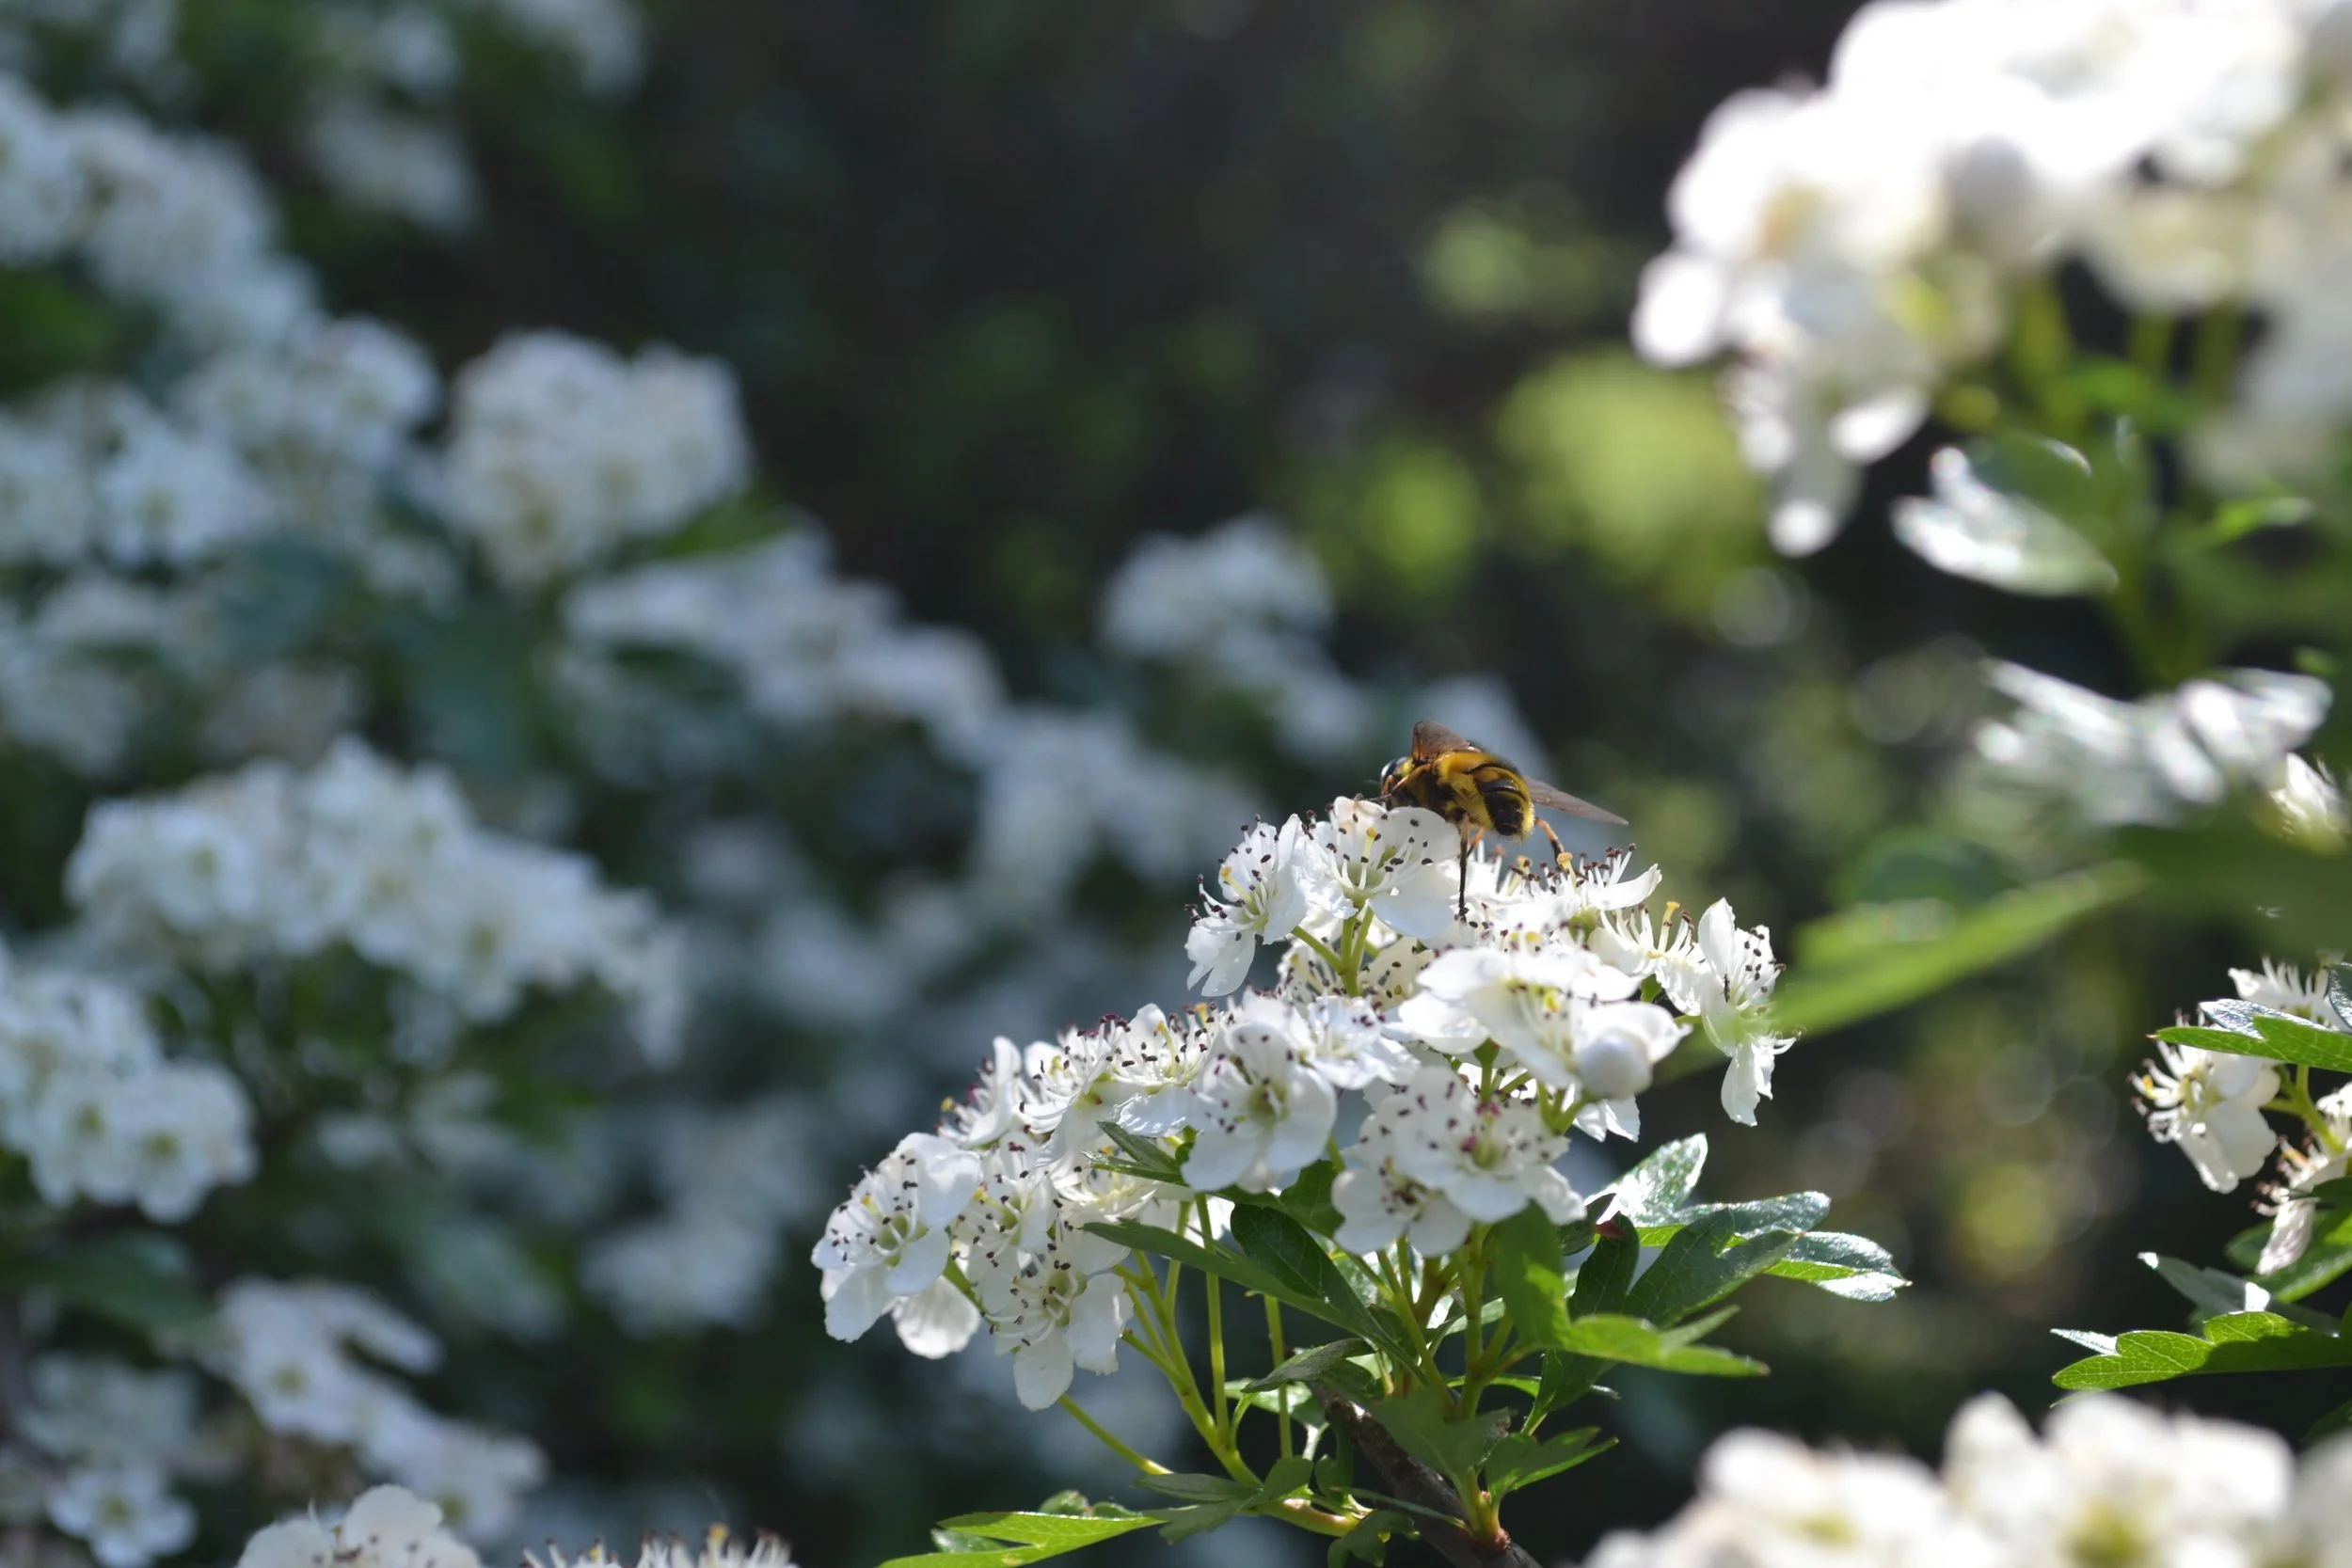
Hawthorn
.
-

Hazel
.
-

Spindle
-

Purging Buckthorn
-

Grey Willow
-
Crab Apple
-

Holly
-

Rowan
-

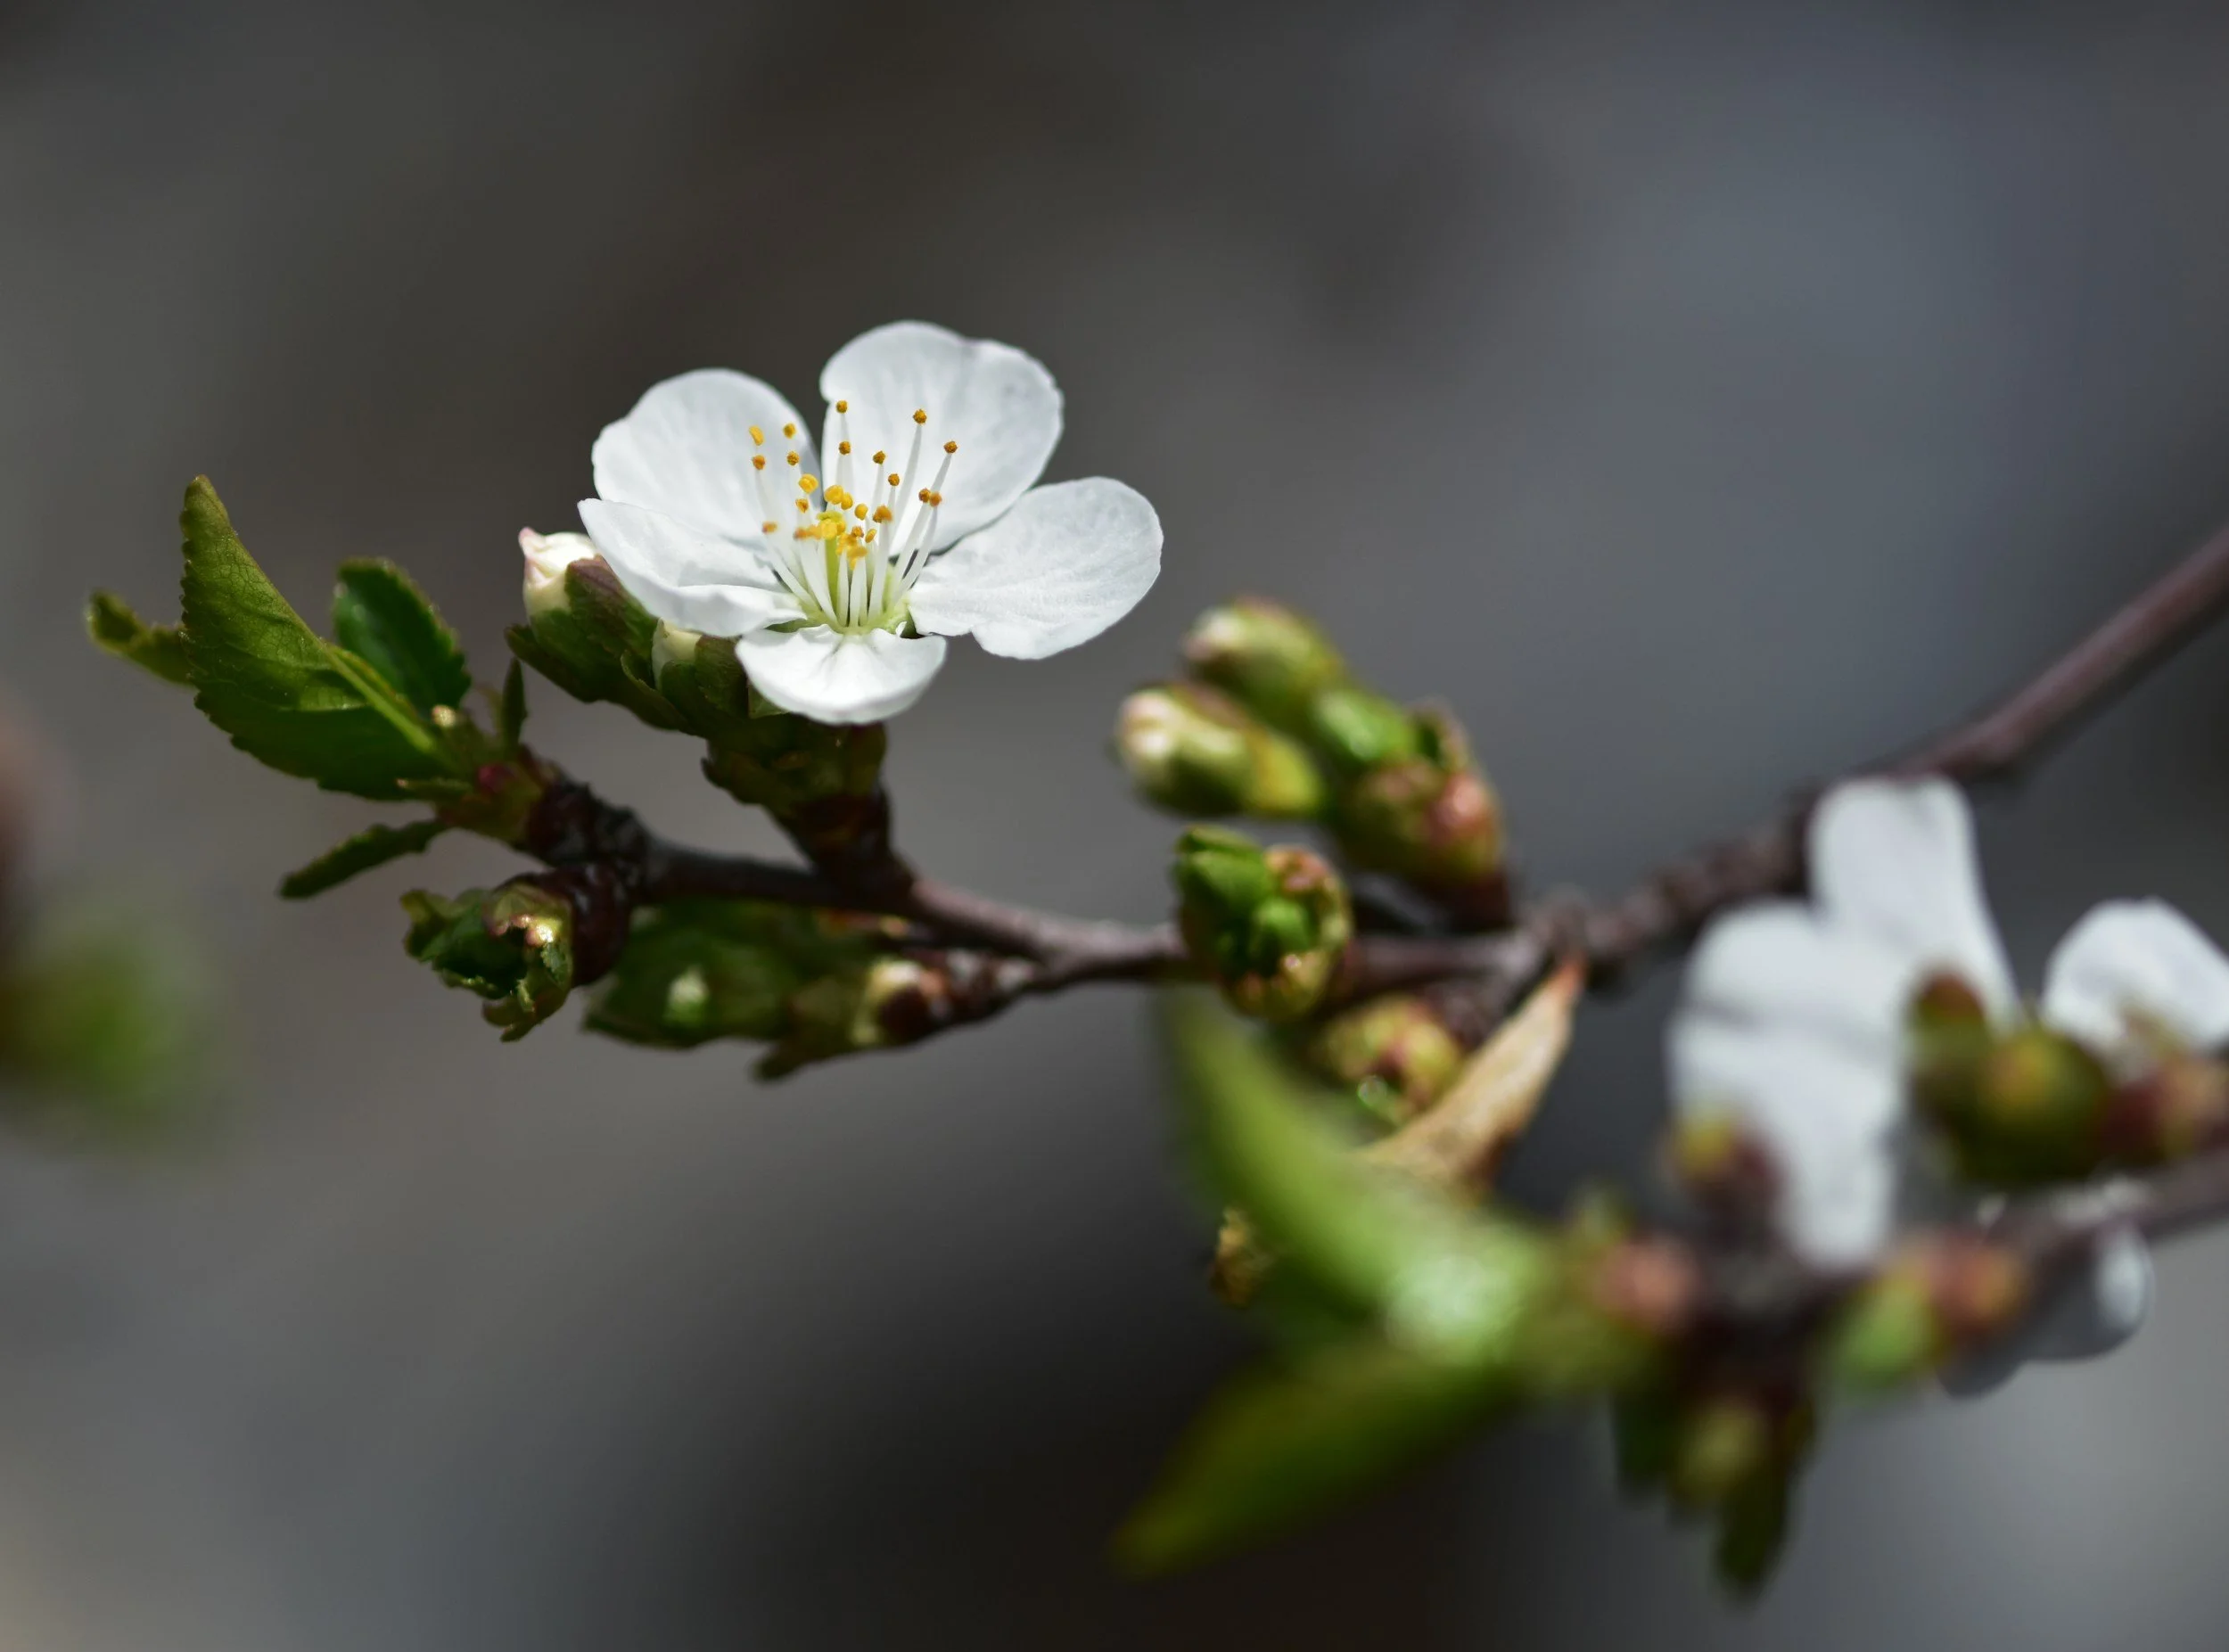
Bird Cherry
-

Alder Buckthorn